How to Replace a Freightliner Cascadia Radiator
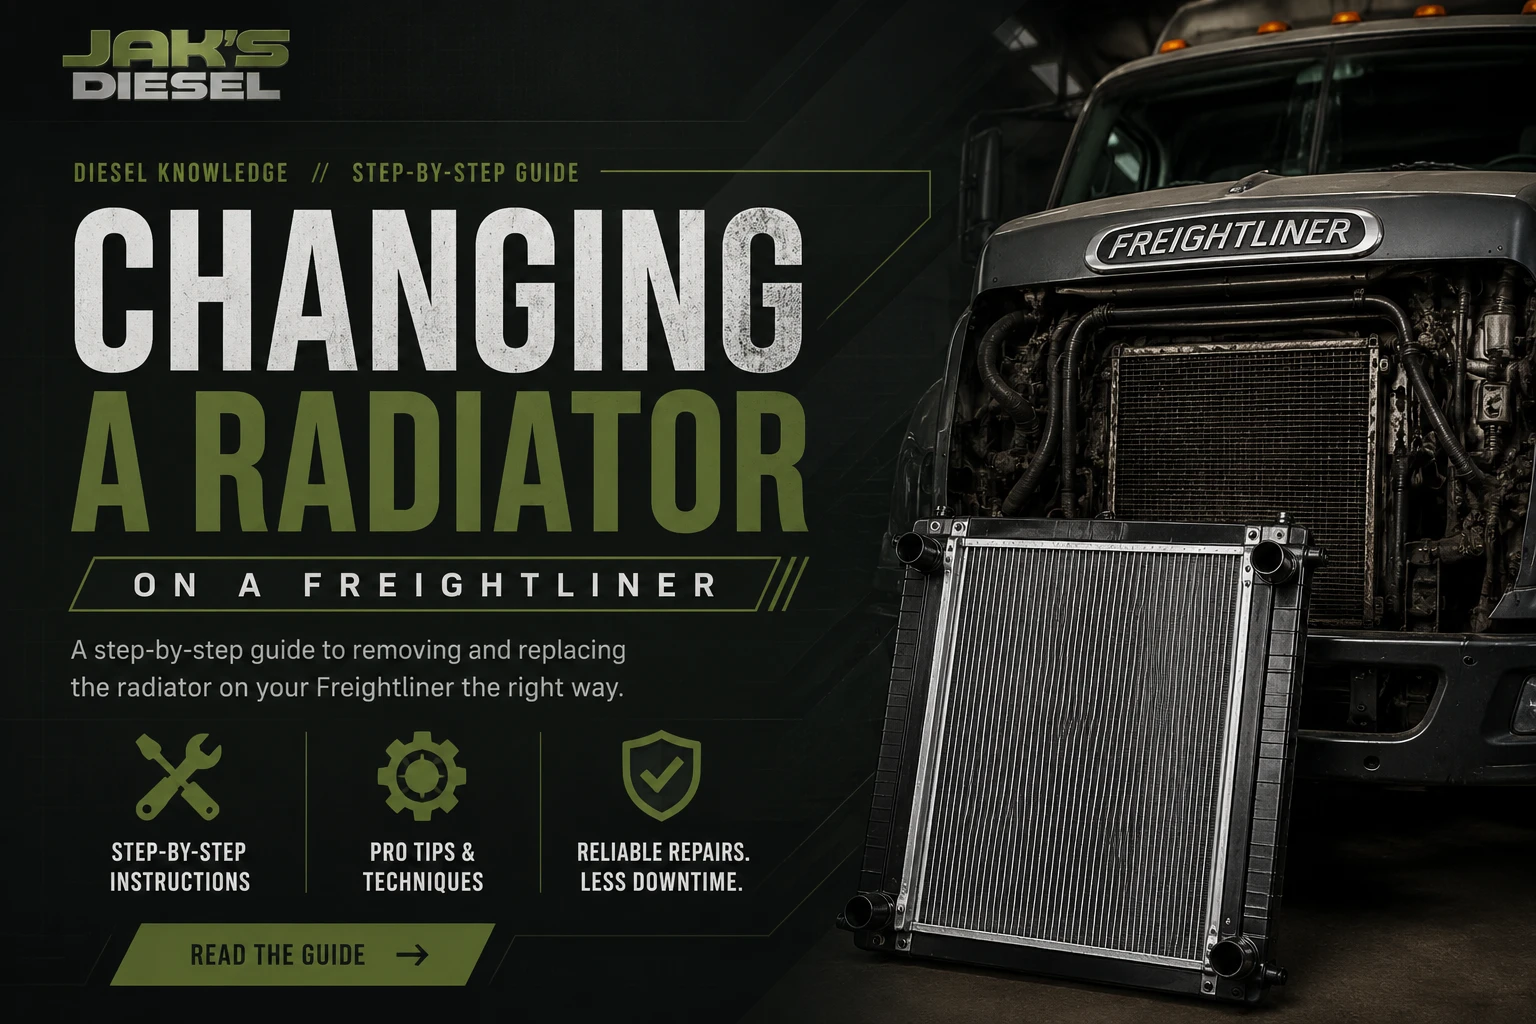
The cooling package is heavy and tied into half the front of the truck — step-by-step removal, the QLD vs. JIC fitting trap, torque specs, and the mistakes that send you back to the lift.
Replacing a radiator on a Freightliner Cascadia is not a small job. The cooling package is large, heavy, and tied into the charge air cooler, transmission oil cooler lines, A/C condenser, fan shroud, surge tank, and radiator support structure.
This guide walks through the major steps, safety warnings, torque specs, and the common mistakes to watch for when removing and installing a Cascadia radiator. It is written as a technical overview for experienced diesel technicians and parts professionals — always follow the official Freightliner service procedure for your exact truck, engine, transmission, and build date.

Before You Start: Safety Comes First
A radiator job on a heavy-duty truck involves hot coolant, pressurized systems, heavy parts, sharp edges, and moving fan components. Do not rush the job. Before beginning:
- Park the truck on a flat, level surface and shut the engine off
- Set the parking brake and block the wheels
- Never work around a running engine
- Disconnect the negative battery cable first
- Let the engine cool before working around hot surfaces
- Wear gloves, eye protection, and protective clothing
- Use rated lifting equipment when supporting or removing heavy components
The surge tank cap is especially dangerous if the system is hot. It can release scalding, pressurized coolant. Wrap the cap with a heavy rag and open it slowly, only after the system has cooled. When cleaning or blowing out the radiator core, keep air pressure below 40 psi and always wear eye protection.
Vehicle Application & Tools
This procedure applies to the Freightliner Cascadia cooling package. Because Freightliner used different fittings and radiator setups across production years, always verify what is on the truck before forcing any connection loose. The job may also involve the surge tank, coolant level sensor, charge air cooler, A/C condenser, fan and fan shroud, transmission oil cooler lines, front engine mount/radiator support, recirculation baffles, and a Tuned Mass Absorber if equipped.
Tools and materials you may need
- Large coolant drain container, approximately 14 gallons, plus a ½-inch hose for the radiator drain fitting
- 2-gallon container for transmission cooler line drainage
- Ratchet strap to support the hood, and a hoist or rated lifting device
- Cardboard to protect the A/C condenser
- Kent-Moore QLD tool
J-48548-1(Allison automatic) andJ-48548-2(other QLD applications) - Thread sealant
48-00094-141for fan bolts - Replacement coolant, replacement transmission fluid if needed, and a proper torque wrench
Removing the Radiator, Step by Step
There are two slightly different removal procedures depending on truck configuration — one Cascadia-specific, one a more general heavy-duty radiator removal. The sequence below covers the major steps.
Prepare the truck
Park on a flat surface, shut off the engine, set the parking brake, and block the wheels. Open the hood and disconnect the negative battery cable. Remove the front bumper to access the cooling package, then slowly remove the surge tank cap after the system has cooled.
Drain the cooling system
Attach a ½-inch hose to the radiator drain fitting and drain coolant into a container that holds roughly 14 gallons. Do not drain coolant onto the ground — used coolant must be captured and disposed of properly.
Support the hood
Disconnect the hood straps or struts as needed. Once the gas shocks are disconnected, use a ratchet strap or other safe method to keep the hood secure. Do not rely on disconnected gas shocks or unsupported hood components.
Remove charge air cooler hoses
Remove the charge air cooler hoses from the cooling package. Inspect the hoses and clamps while they are off — this is a good time to check for oil saturation, cracking, loose clamps, or damaged boots.
Disconnect transmission oil cooler lines
Place a 2-gallon container under the line connections before removing them. This is one of the most important areas of the job, because not all Cascadia radiators use the same fitting style. Do not force or rotate a fitting until you confirm what type it is (see the next section).
Remove radiator hoses and supports
Remove the upper and lower radiator hoses, inspecting for swelling, cracking, soft spots, rubbed areas, or coolant seepage. Then remove the required radiator supports and brackets.
Remove the upper fan shroud and fan
Remove the upper fan shroud, then remove the fan from the fan clutch — typically secured with six fan-to-fan-clutch bolts. Set the fan aside carefully; blades can be sharp, and damaged blades cause vibration or failure later.
Move the A/C condenser aside
Loosen the A/C condenser and carefully set it aside on the passenger tire, using cardboard or another protective barrier. Avoid bending or stressing the A/C lines — do not let the condenser hang unsupported by the lines.
Remove the recirculation baffles
Remove the recirculation baffles from the cooling package. They control airflow through the radiator and cooling stack, so mark their position and alignment points before removal to save time during assembly.
Lift the radiator out
Attach a hoist or rated lifting device, then remove the radiator-to-module-support bolts. Once all hoses, lines, baffles, brackets, and fasteners are clear, lift the radiator out. Do not force it past the A/C condenser, CAC, or frame — if it does not move freely, stop and check for a missed fastener or attached line.
Critical Gotcha: QLD vs. JIC Cooler Fittings
Freightliner Cascadia radiators may have one of two transmission oil cooler line fitting styles. Confirming which one is on your truck before tearing it apart can keep the wrong fitting setup from stopping the job halfway through.
- QLD ports are brazed, not threaded
- Do not try to rotate the ports — it can damage the radiator
- Requires Kent-Moore
J-48548-1(Allison) orJ-48548-2 - On reinstall, seat the quick-connect until the snap ring clicks, then verify with ~10 lbs of pull force
- Standard JIC-style threaded fittings
- Most common setup on later trucks
- Replacing a QLD-equipped truck with a JIC radiator may require an adapter
- Referenced adapter fitting:
GT 7213-0003
Important Transmission Warning
If the radiator is being replaced because of a transmission cooler failure, check the transmission fluid for coolant or water contamination. Coolant contamination can damage internal transmission components, especially on Allison automatic transmissions.
Do not simply replace the radiator and ignore the transmission fluid. If coolant entered the transmission circuit, the system may need further inspection, flushing, or repair.
Installation Notes
Installation is generally the reverse of removal, but a few details matter. Before tightening everything down, align the shrouds and baffles to the paint marks made during removal. Apply thread sealant 48-00094-141 to the fan bolts before installation. If the truck uses QLD quick-connect fittings, fully seat the fitting until the snap ring clicks, then verify with approximately 10 lbs of pull force.
After installation
- Refill the cooling system
- Refill or correct the transmission fluid level as needed
- Reconnect the batteries
- Run the engine and check for leaks
- Verify fan, shroud, hose, and baffle clearance
- Road test, then recheck coolant level after the system circulates and cools
Do not skip the final leak inspection. Cooling system leaks can show up only after the system builds pressure.
Torque Specifications
Always confirm specs against the official Freightliner procedure for your exact build. The values below are referenced for the Cascadia cooling package.
| Component | Torque Spec |
|---|---|
| Front engine mount / radiator support to block | 92 ft-lbs / 125 N·m + 90° |
| Lower radiator bracket fasteners | 40 ft-lbs / 54 N·m |
| Radiator mounting nuts | 182–223 ft-lbs / 247–302 N·m |
| A/C receiver-drier / upper line nuts | 14–16 ft-lbs / 19–22 N·m |
| A/C condenser mounting bolts | 112–144 in-lbs |
| Fan bolts with sealant 48-00094-141 | 30 ft-lbs / 40–41 N·m |
| TMA mounting M8 bolts | 17 ft-lbs / 23 N·m |
| TMA M12 flange bolt | 60 ft-lbs / 81 N·m |
| QLD adapter into transmission oil cooler | 52 ft-lbs / 70 N·m |
Pro Tip: Check for the Tuned Mass Absorber
Some Cascadia trucks with “bow-tie” mounted 1625 square-inch radiators may require a Tuned Mass Absorber (TMA). Freightliner issued guidance for certain EPA10 Cascadias built up to around 2012 that could develop coolant tube cracks from radiator resonance or vibration.
If you are replacing one of these radiators, check whether the truck should have the TMA installed. Replacing the radiator without addressing the vibration issue may lead to another failure later — the goal is to reduce vibration and help extend radiator life.
Maintenance & Inspection Intervals
A radiator does not have to be leaking to cause cooling problems. Restricted airflow, plugged fins, damaged cores, and low-coolant-sensor issues can all create trouble. Keeping the radiator clean is one of the simplest ways to prevent overheating and extend cooling system life.
Cleaning the core
- Clean with an approved grease solvent such as mineral spirits
- Do not use diesel fuel, kerosene, or gasoline to clean the core
- Dry the core with compressed air under 40 psi, wearing eye protection
Common Mistakes to Avoid
Radiator replacement on a Cascadia is straightforward only if the details are handled correctly. Avoid these:
- Removing the surge tank cap while the system is hot
- Forgetting to disconnect the negative battery cable
- Letting the hood sit unsupported after removing hood struts
- Twisting QLD transmission cooler fittings
- Failing to drain transmission cooler lines into a container
- Letting the A/C condenser hang by the lines
- Forgetting to mark shroud and baffle alignment
- Reusing damaged radiator hoses
- Skipping thread sealant on fan bolts
- Failing to road test and recheck for leaks
Need the Right Cooling Parts?
Replacing a Cascadia radiator is more than two hoses and a few bolts — the cooling package ties into the fan, charge air cooler, A/C condenser, transmission cooler circuit, surge tank, and radiator support. If the radiator failed because of internal transmission cooler contamination, don't ignore the transmission fluid. For heavy-duty cooling parts, cross-reference help, and quote support for your Freightliner, CAT, Cummins, or Detroit-powered truck, contact JAK'S Diesel — we verify fitment before you order.